How To Make A Two Tier Pin Cushion

My Two Tier Pin Cushion project is my newest solution to craft room storage space.
This particular project was just plain fun to make.
If you are a sewist, you already know there are never too many straight pins or scissors in your sewing room. I’m working on adding more scissors and loving this new Two Tier Pin Cushion I crafted. 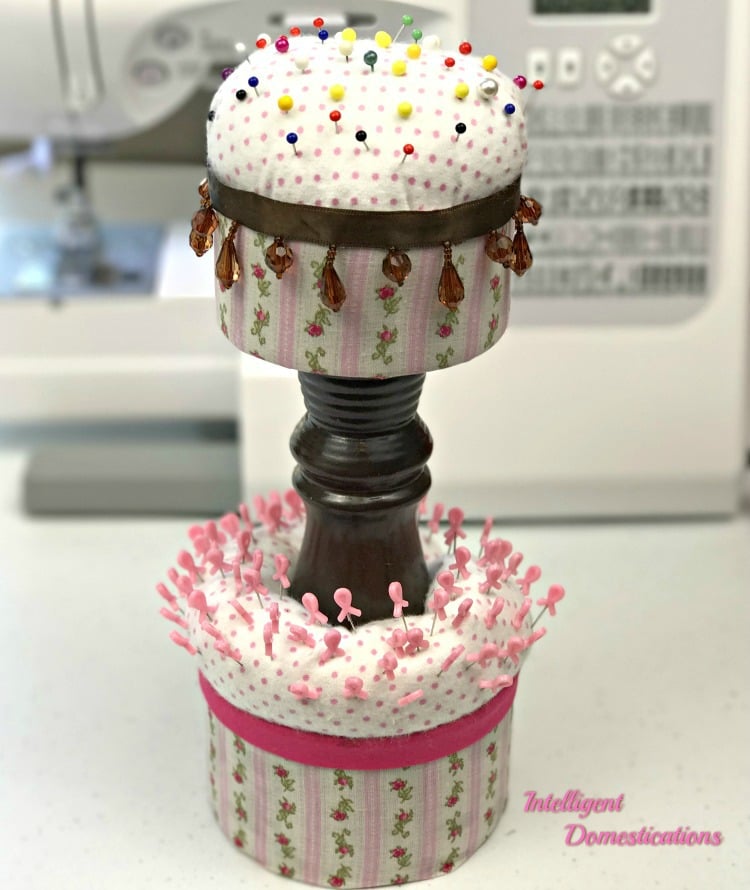
The Two Tier Pin Cushion is a funky folk art looking addition to my craft room sure to create conversation from time to time. As I mentioned, it was really just plain fun to make. I hope you are inspired to make one for yourself .
This is one of my favorite storage upcycle projects ever. It gets a lot of use in my craft room Straight pins are not just for sewing!
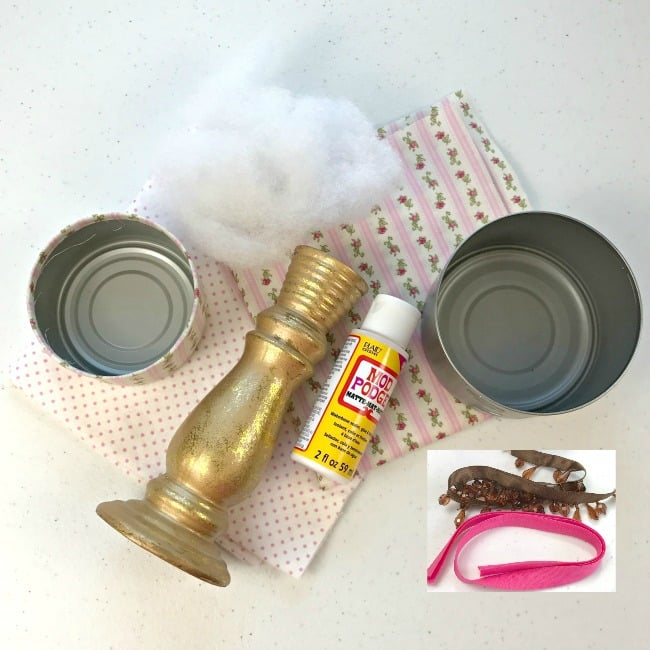
Supplies for this project:
- One empty clean Tuna can
- One empty clean Chicken can
- Two scrap pieces of contrasting fabric
- Ribbon embellishments for rim
- Pillow stuffing
- Thrift store Candle Stick (use whatever you have)
- Paint for candle stick
- Mod Podge
- E6000 glue

PREPARE THE CANDLESTICK
The first thing I did was to spray paint the candle stick. The brown spray paint was in my supply inventory and was recently used on another project still in the works.
MEASURE & CUT THE FABRIC
While the paint was drying, I measured and cut the pink floral fabric to go around the outside of the cans. To measure, I just rolled the fabric around the can to see how much I needed. It’s a little bit like measuring wrapping paper around a gift.
Be sure to extend the fabric enough above the top and bottom of each can to create a lip to fold in. The top lip will help keep the actual pin cushion snug and the bottom will prevent the tin can from staining any surface.
My pink fabric is left over from this Baby Bibs & Burp Cloth project.

GLUE THE FABRIC TO THE CAN
Next I painted the outside of the can with Mod Podge and glued the fabric into place.
Before gluing down the inside top and bottom fabric, make cuts about an inch or so apart all the way around as shown in photo above. This step will allow the fabric to lay down properly in a circle without any bulges.
Paint on the Mod Podge and smooth the fabric onto it. I use the bristle part of my brush to do this step.
Allow the drying time recommended according to instructions on the Mod Podge.
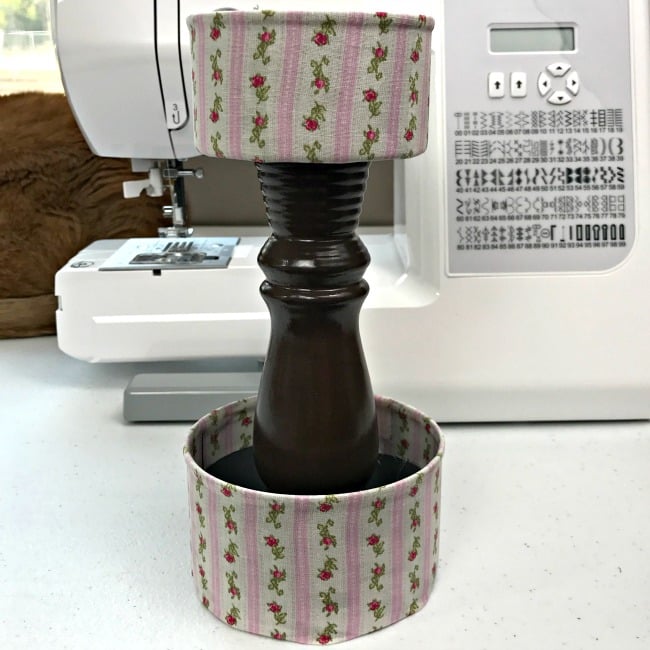
ADD THE CANDLESTICK
After the paint had dried on the candle stick, I used a small amount of E6000 on the top and bottom area of the candle stick to secure it into place on the upcycled cans. A couple of heavy cookbooks were perfect to weigh it all down as the glue dried.
Next I added the embellishments to the rims of the covered cans using E6000. I don’t currently have fabric glue in my craft room but I did add it to my shopping list. The pink bias was left over from a skirt I made for my granddaughter. The brown beaded trim was leftover from a one of my daughter’s projects which I helped with. We always save the scraps no matter how small!MAKING THE PIN CUSHIONS
MAKING THE PIN CUSHIONS
To make the bottom pin cushion which needed to fit around the candle stick, I measured my fabric the same as with the outside fabric. It measures about 14 inches long and 6 inches wide.
Remember the bottom can is the chicken can which is slightly larger than the tuna can and perfect for the bottom of our two tier pin cushion.
Fold right sides of fabric together and sew following arrows as shown above. Leave one end open and leave a space open in the side seam for inserting the pillow stuffing. Now turn the fabric right side out.
Fill with the pillow stuffing and sew the openings closed. I left two small openings along the long side which I closed by hand stitching. I used the machine to close the open end. Now just tuck your long pin cushion in around the candle stick and it is ready for use!
To make the top pin cushion I used a saucer as a template to cut out a round piece of fabric. I then begin to sew a long stitch by hand just as seen in my Velvet Pumpkins project.
Stuff your circle with pillow stuffing to the fullness you desire. Sew it closed and it’s ready to fit into the top can. Just tuck it in good and snug. I did not glue in either pin cushion. I only tucked them in.

BREAST CANCER AWARENESS STRAIGHT PINS
Santa always fills my stocking with the best stuff and these adorable Breast Cancer Awareness straight pins were in my Christmas stocking last year. I lost my mother to breast cancer and I shared that story here. She was quite the talented seamstress and would be happy that I did finally learn to sew.


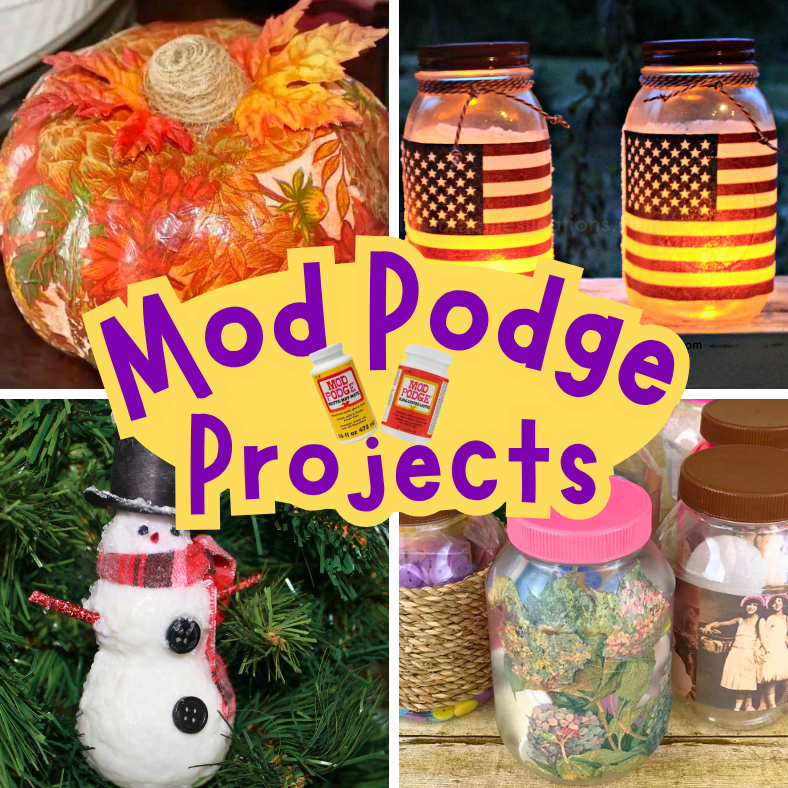
Clever DIY Home Storage Solutions
Clever Repurpose and Upcycle Home Storage Solutions you can DIY

Thrift store finds can become pretty home storage solutions with a little creativity! You should see how ugly this jewelry box was in the BEFORE pictures!

One of the most handy tools I have created for my craft room is this Two Tier Pin Cushion! You won't believe just how cheap it was to make.

Another fun thrift store find repurposed into a handy storage tool for the home. Still gracing our guest bedroom.

Repurpose a simple plastic grocer bag into a long lasting Clothespin bag.
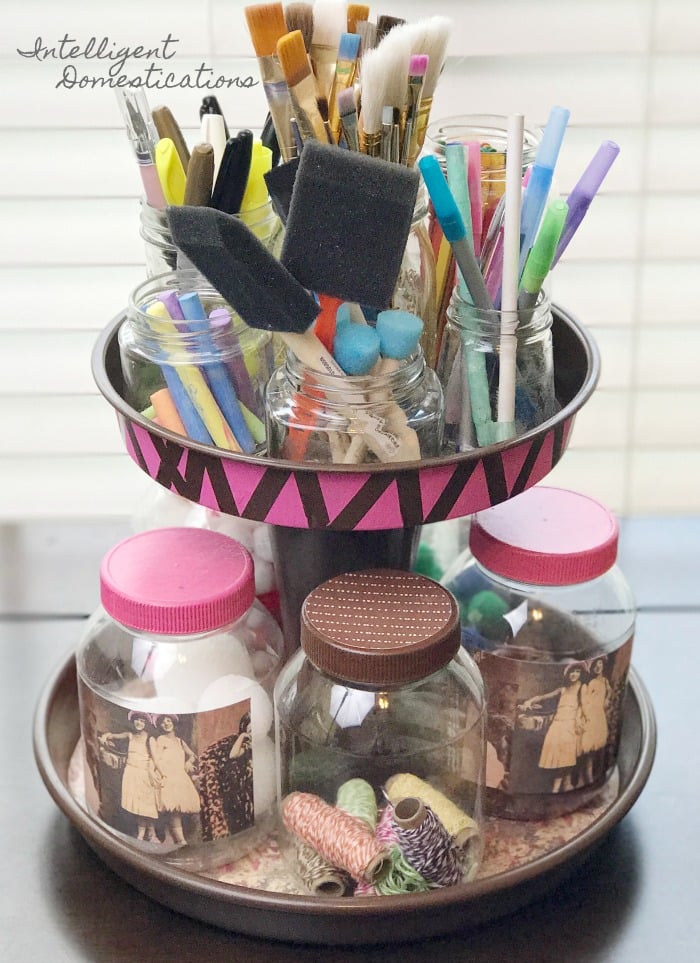
You can make one of these Two Tier Craft Storage tray! The idea came to me as a solution to a lack of counter storage space in my craft room.

A repurposed picture frame easily became a Craft room pegboard and more storage solutions.

Repurpose Mayonnaise Jars Into Pretty Craft Storage Containers
Don't toss those empty plastic mayonnaise jars! Repurose them into pretty storage containers.

A little creativity and a trip to the thrift store resulted in this fun closet organizer for scarves.

My favorite kitchen storage solution! Completely free using supplies I already had.


Hi Shirley: This is a such a unique and fun project. You bet you can never have too many scissors or pins. It took me forever to makea pin cushion, and now I use it all the time.
I have featured your post on this week’s Waste not Wednesday link party. It such a practical and unique upcycle project, that I would love to have.
Great practical project. So pretty and useful.
I think these are the most stylish pin cushions I’ve ever seen. I’ve used tuna tins to make cartons but this is way more exciting. I could get into sewing just to need one of these! Great clear instructions too.
Thank you for sharing with me on #Trash2Treasure
So clever! I’m going to use this idea and make one for my craft area 🙂
What a great Destash Project. I love those little pink ribbon pins….sooo sweet!!!
I would have never thought to make a two tiered one!
This is such a great idea and soo handy! I always need more pincushions. 🙂
What a fun idea! I’ve been meaning to make pin cushions for a while. I’ll have to try these.
This is so cute. I have to tell you, I could make it almost identically, I actually have BOTH of those fabrics in my stash. I really needed this destash challenge.
I love your pincushion -what a neat idea! It would solve my problem of having three pincushions that are on top of my sewing machine table. Thanks for the idea!
This is just the cutest pin cushion I’ve ever seen and I don’t know that I’ve ever seen a two-tier pin cushion. Even though I’ve never used my sewing machine, I do sew on buttons and hem pants occasionally. I’m embarrassed to admit that my pins are rolling around loose in my sewing box. Yikes! I need this in my life. It’s adorable!
This is so clever and pretty too And very handy to have if you sew or craft.
These pin cushions are super cute, and I just love your pink ribbon pins too!!!
This is awesome! I am totally making this for me and my mom! It will look amazing in her sewing room. LOVE IT
Fanciest pin cushion I have ever seen. Great job…thanks for sharing.
What an awesome way to recycle your cans. You re-purposed it and did something really creative. I am not great a sewing but I can say that this is great idea for my needles. I have them in a box right now. This is way more fancy and yes, would inspire a conversation in me if I saw it in person.
I love using food cans for craft projects. This is a really cute one; I have never seen a two-tiered pin cushion!
What a great job you did. You are pretty creative. I would have never thought to reuse cans that way.
What a great way to reuse the cans. I love that it has two tiers. Super cute idea.
Cute idea! Can never have enough places to stick sewing pins. Visiting from Crafty Destash.
This is such an adorable pin cushion-now only if I could sew, lol!
This is so beautiful! My mom sews and would really appreciate this in her room!
Well that certainly turned out lovely! And it makes me want to learn how to sew!
That is so cute!!!
that is too cute. I am in awe by anyone who can sew because I can’t.