How To Make A Felt Poinsettia Christmas Ornament
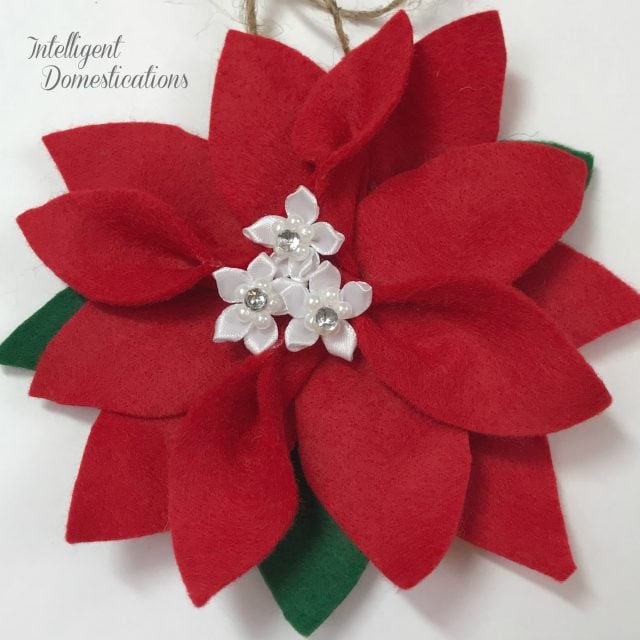
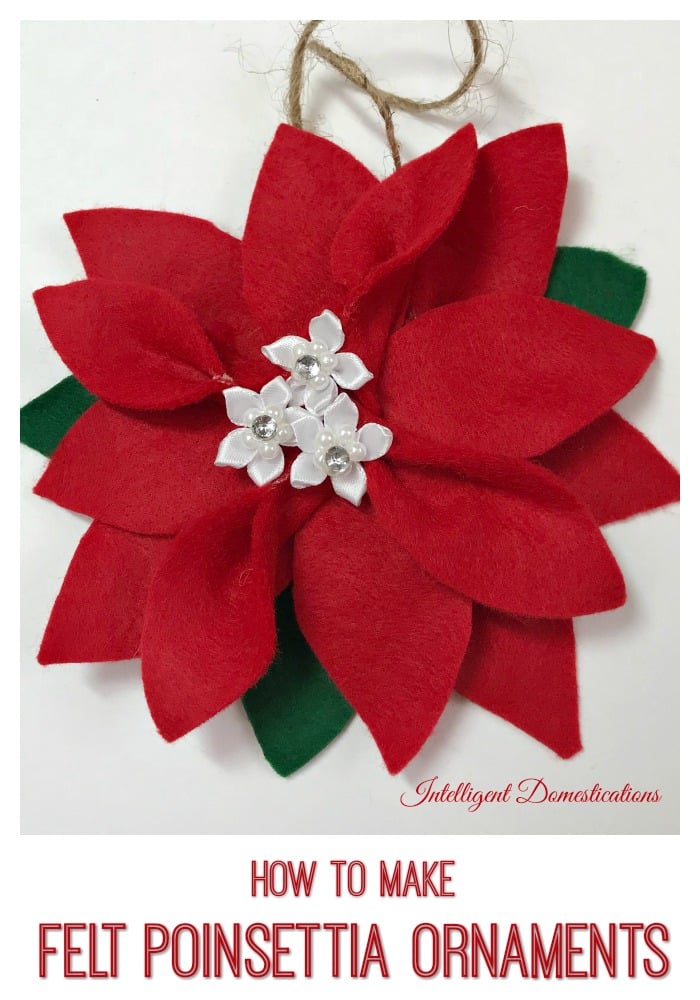
A simple and easy way to make your own felt Poinsettia Christmas ornament for your Christmas tree.

If you enjoy making homemade Christmas ornaments, you will love how easy these felt poinsettia ornaments are to make.
This article contains affiliate links. Please see our Disclosure Policy.
How To Make A Felt Poinsettia Christmas Ornament

Poinsettia is really a beautiful Christmas flower. I love to see the entire front of the Church lined with big beautiful Poinsettia each year at Christmas.
Making a Felt Poinsettia Ornament is an easy project for all skill levels. You only need a few simple supplies.
Supplies
- Red Felt
- Green Felt
- Buttons or Ornaments of your choice for the center
- Jute for the hanger
- Thin Cardboard for the base (old tissue box)
- Hot Glue
- Hot Glue Gun
- Gallon milk jug cap to create a center template
Step into my craft room and see how easy it is to make these pretty Poinsettia Christmas Ornaments.

Step 1
Use thin cardboard such as an empty facial tissue box, to cut out your templates.
Templates
Create 2 circles, one being slightly larger than the other. Then create a leaf template that is shaped like a football as shown in the video. My leaf template is about 2 1.2 inches long. You will use this ‘leaf’ template for the red flower petals and the green leaves.
Step 2 Cut out the templates
Use the templates to cut out the pieces on the felt. You will need about 8 red petals, 3 green leaves, and 2 round pieces for the front and back center of the flower.
TIP
I like to create an assembly line by cutting out enough pieces to make a few poinsettia ornaments at one time. That way once I begin gluing the pieces together I can keep going with the hot glue gun until I have all of my DIY ornaments completed.
Step 3 The center of the flower
Begin assembling the ornament by covering the two round pieces with red felt cut to fit. These are the centerpiece of the ornament all of the petals will be attached to.
Step 4 Attach the petals
Begin attaching the petals to the centerpiece. You will glue the petals to the red felt side of the center using the small circle. (the large circle will be the back side of the ornament.)
Add a dab of hot glue close to the center of the small round piece. Place one tip end of each petal onto the hot glue, press down and then do the next petal. You want your petals to slightly overlap for a nice full flower.
Step 5 Add the green leaves
Flip the ornament over so the uncovered side of the cardboard circle is showing. Add a few green leaves and place them carefully between red petals so they show prominently. Do this the same as adding the petals, with a dab of hot glue in the center of the circle.
Step 6 Add the hanger
Measure and cut your hanger to your desired length. Attach it to the center cardboard piece using hot glue.
Step 7 The back covering
The back covering is the larger circle you have previously cut out and covered with red felt. This piece serves two purposes. 1. It creates a finished look on the back side of the ornament by covering all of the exposed workings. 2. It adds sturdiness to the ornament and helps it hang better on the Christmas tree.
Add a dab of hot glue and press the circle into place with the red felt side facing out.
Step 8 The finishing touches
Before adding your baubles, use a lint roller on the front of the ornament to clean it up a bit. It may have debris on it from the crafting process.
Use hot glue to add the baubles you are using to the center of your felt poinsettia Christmas ornament and you are done.
Note
Watch the video to see how to make pinched petals. It takes more petals. There are about 13 to 15 petals per ornament instead of 8 but it’s also a really pretty ornament.

More DIY Christmas Ornaments
DIY Chilly The Snowman Ornament
How To Make This Elf Entrance Sign Christmas Tree Ornament
Easy Painted Wood Slice Ornaments In Bright Colors
Make This Red & White Pom Pom Mini Wreath Ornament
Easy To Make Christmas Bell Fabric Ornament
8 Christmas Tree Decorating Ideas

Updated Oct. 28, 2022


I love the look of these! they are so sweet and festive! Great job!
These are absolutely gorgeous, you can use this ornament in all sorts of decorations. And in different sizes, so pretty.
So cute! These not only make nice ornaments, but would make great gift toppers too!
So cute! I could definitely make tons of these and use them as gifts or just put lots on my trees!
Beautiful, I have a Cricut so I bet that would make these even quicker to cut out and make.
So pretty! Thanks for the great video tutorial!
I love these! I especially liked the pinched look. Love your tip about the lint roller, too. I’ve never even thought of that and I craft with felt often!
These are so lovely. I love the attention to detail. There is nothing as beautiful as a traditional red and green Christmas.
Oh Shirley! These are gorgeous! I know your partner is going to love it!
Kim
Such gorgeous ornaments!! I love poinsettias!!! #2018ornamentexchange
That is beautiful! I can’t wait to see it in person. Pinned.
Thanks again for my ornament (and my first Christmas card of the season!). I just love it.
Beautiful! The little white flowers in the center is my favorite part. It’s going to be so pretty on the tree!
How pretty! I love poinsettias!