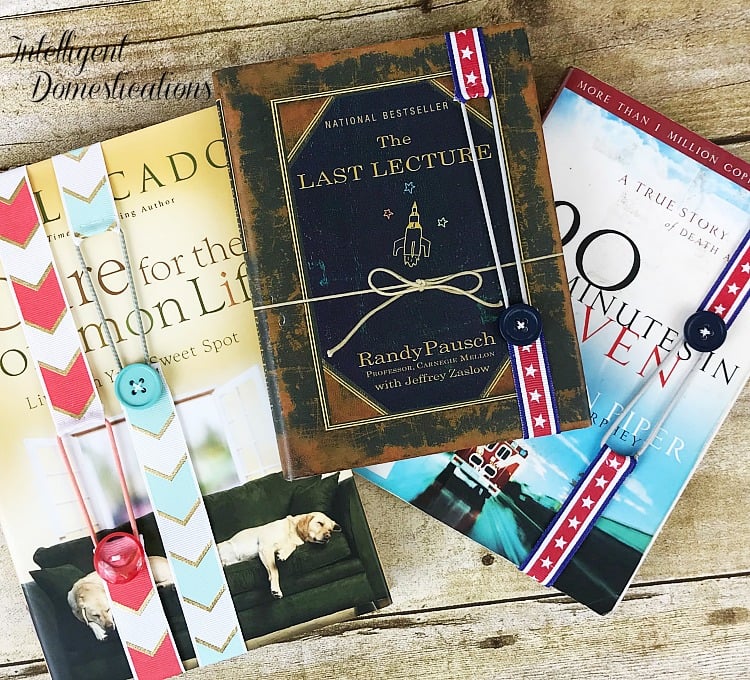
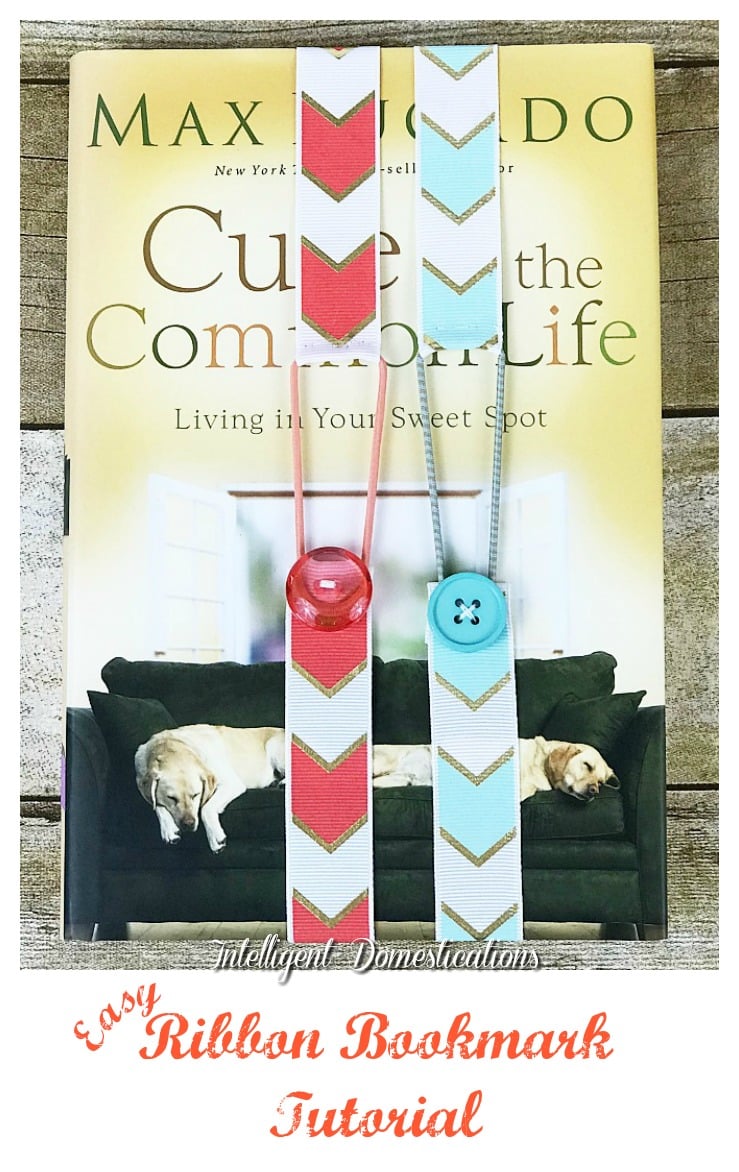
Easy Ribbon Bookmarks
These DIY Easy Ribbon Bookmarks were such fun to make, I may have gotten a little carried away. This is one of those projects everyone will be glad you did because they all want one!
Quite a few of these Ribbon Bookmarks have already been made in my craft room. Both of my daughters and my granddaughter immediately fell in love with them.
Guess what everyone will be seeing in their Christmas stockings and gift bags in the foreseeable future?
This article contains affiliate links. Please see our disclosure policy.

Supplies for making Ribbon Bookmarks
- 7/8″ Ribbon (Grosgain preferably)
- Matching Button
- Sewing Thread
- Ponytail holder to match ribbon
Optional: Other options instead of ponytail holders include potholder loop and loom loops or rubber bands.
The Dollar Tree is a good place to find ponytail holders.
Grosgrain ribbon holds up best due to its thickness. I tested the Dollar store ribbon and cannot recommend it for this project as it just isn’t sturdy enough.
Step 1 Cutting the ribbon
Books come in a multitude of sizes therefore there is no standard size for Ribbon Bookmarks.
If you are making them for yourself, you can measure your ribbon to your books prior to cutting. If you are giving them as gifts, I recommend giving several in differing sizes.

Step 2
Fold one end of the ribbon over just slightly. Smooth the edge down with your finger.
Step 3
Then place the ponytail holder under the fold and fold again. Notice the double fold in the photo above.
Pull the ponytail holder up toward the tip end as shown.

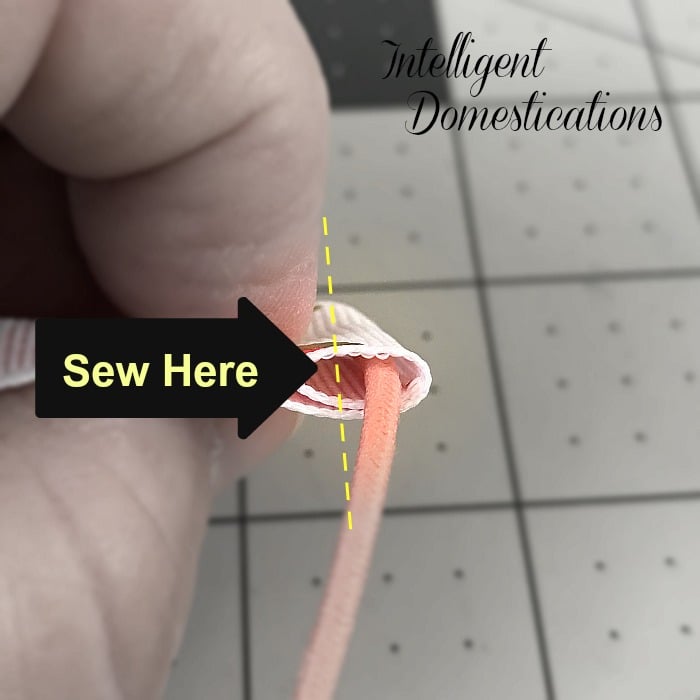
Step 4
Stitch beneath the ponytail holder. Hand stitching only takes a couple of minutes. Be sure to loop the thread around both ends which I find makes the ponytail holder more secure when stretched onto a book.

Adding the button
Step 5
Fold over the other end of the ribbon to match the width of your button. This will allow you to sew your button onto a double thickness of ribbon for more durability.
You are done!
I told you it was easy! It is only a matter of sewing a ponytail holder on one end and a button on the other of a pretty piece of ribbon!
Super easy and extremely affordable ribbon bookmarks!

Before you know it you will have made dozens of Ribbon Bookmarks using so many different colors and patterns of ribbon and buttons.
My Button Tip
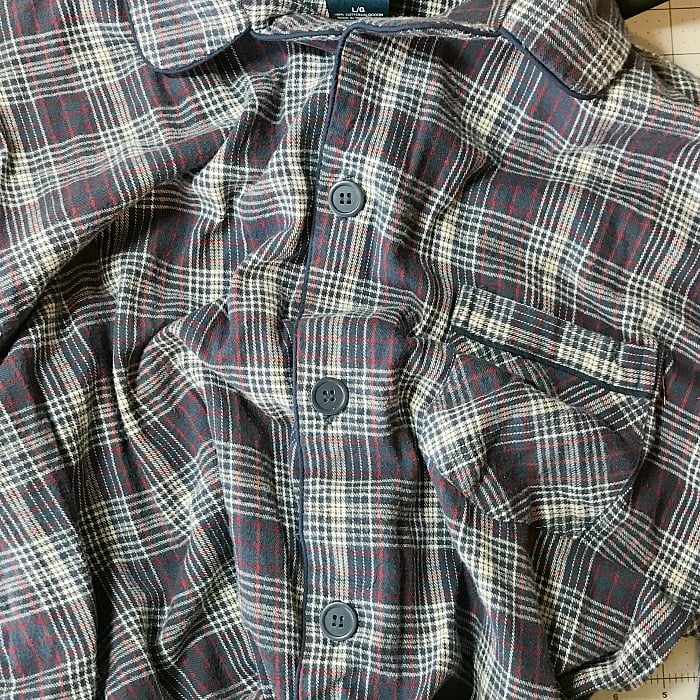
Thrift store and yard sale clothing is a fabulous source for buttons.
One of my favorite thrift stores marked all clothing down to .50¢ and I had a blast picking out items with lots of buttons on them like the men’s pajama top above!

- 7 Practical Outdoor Summer Projects for Your Home
- Jewelry Box Makeover Into Sewing Box Thrift Upcycle
- Super Mom Apron Sewing Project
- Beach In A Glass Coastal Ornament @My Pinterventures
Must Have Craft Supplies


Shirley,
What a great idea!!
Thanks so much for taking the time to stop by!! And thanks for your kind and encouraging words on m post about getting my MOJO back!!!
Hugs,
Deb
What a novel idea! (pun intended!) I love it! It makes page finding so much easier and prevents the bookmark from falling out! You’re so clever! Pinned and Tweeted!
Jeannee
I love these little bookmarks, so cute! They looked pretty simple to make too! Great tip on getting clothes from thrift stores for buttons. I’ve also found big bags of buttons at thrift stores and yard sales before, so my button stash is stocked for a long time!
Oh, darn. I just cleaned out my ribbon stash and donated a ton and could have made some bookmarks…lol. This would make such a great additional gift to a book lover. Pinned.
I have lots of buttons and ribbon laying around! Now all I need is some pony tail holders! Love this idea!
What a great idea! I am a teacher and would love to make these for my students for an end of the year gift…perfect for summer reading!
Oh I have the perfect ribbon for this! I can think of several girlfriends I would give these too. Great idea!
These are really cute! We homeschool so we are always making more and more bookmarks. These are so cute and they look super easy to make! Can’t wait to give them a try! Thanks so much!
Great idea! I love that you can personalize each bookmark to the tastes of the person you are making them for. I was sitting here looking at my bookshelf and thought, YES – I need a few of these. It’s great idea to use up the bits of ribbon and buttons from past projects, too. Pinned!
I love that the elastic holds these bookmarks securely on the book. I always hate it when my bookmark gets pulled out and I lose my place. Great tutorial. Pinned!
This is a fantastic idea. This is a great idea for a gift for a booklover.
We need to be reading buddies because I absolutely love the books in your images. (Max Lucado is definitely a favorite in our home). Pinning for later. Have a happy day, friend.
These are so pretty! I think my girl scouts would love to make these!
These are so adorable! I’m pretty sure I have pinned a similar project but I never got around to making them. I love how this challenge encourages us to try more. Pinned.
I have this pin or one like it saved from years ago too! Thanks for reminding me that I want to make some of these for my kids and myself! Pretty ribbon you used too! Pinning yours to remind myself to get on the ball and stop hording!! Have a great week Shirley.
Love this idea! Pinning! Glad to be participating in this blog hop with you!
I love this idea. These would sure make great gifts. I’ll have to give it a try!
Love this idea. My kids are always loosing their bookmarks because they fall out of the books.
Your bookmarks are great, Shirley! I love how easy they are to put together. I can’t sew, but I think I could manage this! That’s a great tip about using buttons from thrift store clothing.
Thank you Jenny. I save that Pin years ago and was just having so much fun making these! There are more in my near future!
These bookmarks are adorable and will make perfect gifts. Great tip for finding buttons! #PinterestChallenge