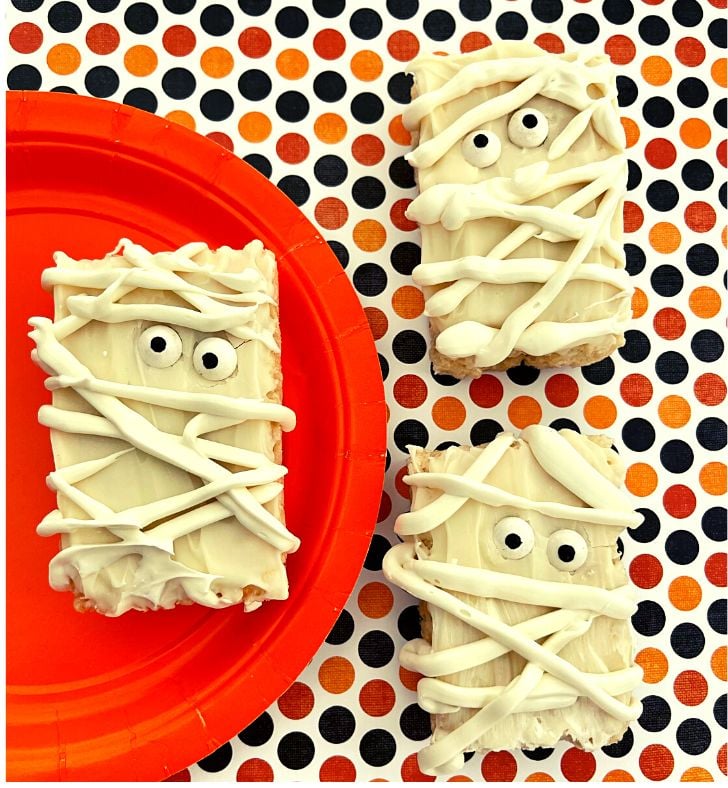
Mummy Rice Krispies Treats Recipe
Rice Krispies Treats Mummies are fun to make. The kids can help make these Halloween treats. Plus, these no-bake Halloween treats are made with a shortcut so you don’t need the stove.
These candy coated Halloween Rice Krispies Treats are can be made quickly with my little trick. I use packaged Rice Krispies Treats instead of making them from scratch. It saves time for busy folks like you.
Do you love Rice Krispies Treats for Halloween too? See these; Ghosts Rice Krispies Treats and cute Monster Rice Krispies Treats.
This article contains affiliate links. Please see our Disclosure Policy.
Why are Mummy Rice Krispies Treats so great?
The only cooking involved is melting candy chips in the microwave.
Only three simple ingredients are all you need; store-bought Rice Krispies treats, candy melts, and candy eyes.
You do not need a cookie cutter or mold to make these rice krispies mummies.
They make fun Halloween party food and are great for classrooms too. Plus you can make these a day ahead.
Tools Used
- 2 Medium microwave-safe bowls for the candy melts
- A spatula
- Disposable counter covers or parchment paper for your work surface
Simple Ingredients
Two colors of candy melts because the mummy’s coat is a faded white but his mummy wrap is white. Candy googly eyes add character to these treats. Prepackages Rice Krispies Treats are the key to making this dessert quickly.
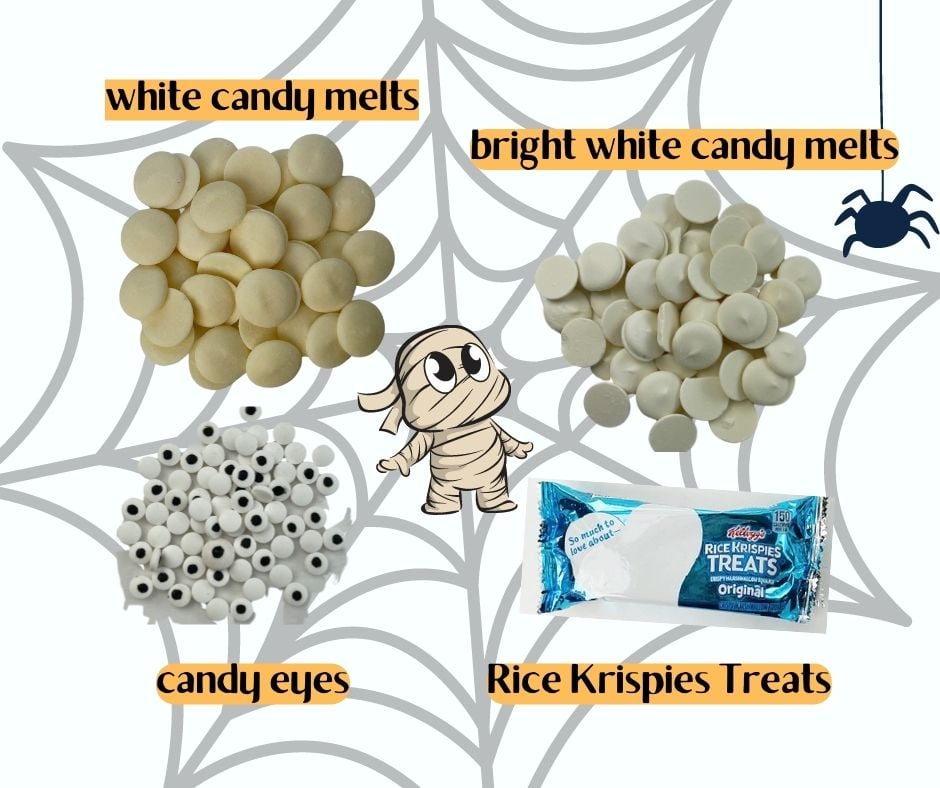
- 12 count box Pre-packaged Rice Krispies Treats
- 12 oz. bag White candy melts (only use half the bag)
- 12 oz. bag Bright White Candy melts (only use half the bag)
- Candy eyes
Note: Use the rest of your candy melts to make these Ghosts Rice Krispies Treats
Directions
Step 1
Prepare your workspace and gather all of the ingredients and tools. I recommend using these disposable counter covers.
Step 2
Unwrap your pre-packaged Rice Krispies Treats and line them up for the process of turning them into rice krispie treat mummies.
Step 3 Melting the White Candy Melts
Melt your white candy melts in the microwave. (Do not melt the bright white candy melts just yet)
Begin with half power at 15 seconds. Stir and then keep doing that in 15-second intervals. Once there are only tiny tidbits of the candy remaining, stop microwaving and stir until it all melts with the residual heat.
It is important that you melt chocolate or candy melts on half power in the microwave. The candy can seize and have to be thrown away if it overheats. It is best to go slow.
Coat the Rice Krispie in melted white candy
Dip the top of the rice crispy into the melted candy to coat the top. You will need to use the spatula to smooth out the surface.
Immediately add the eyes
Immediately add the eyes while the melted white candy is still wet. It will be the glue that holds the eyes into place.
Have fun adding your candy eyes to the Mummy. They do not need to all be the same.
Set your krispy mummies aside and let them dry. It only take a few minutes for them to dry.
Step 4
Once the mummies are dry, you can add their wrapping.
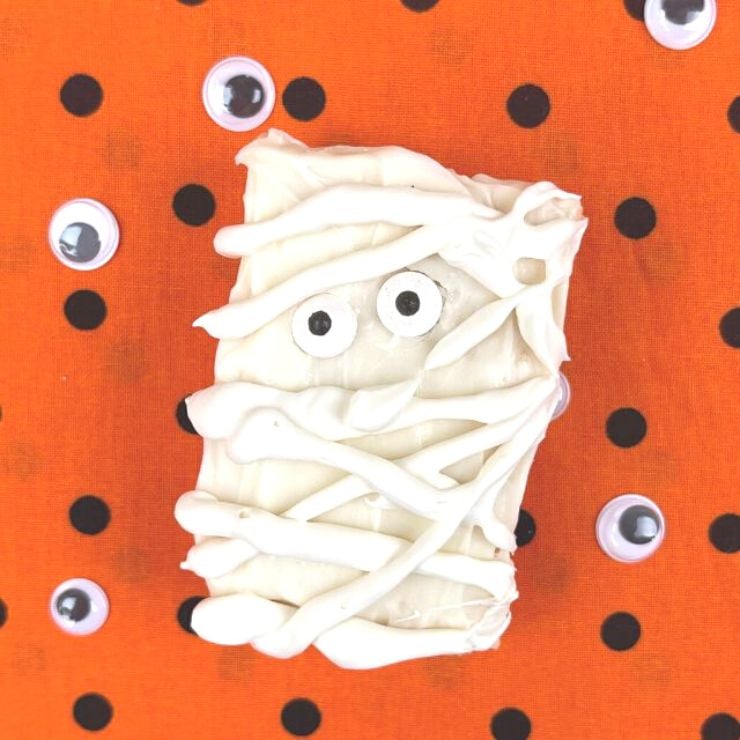
Now melt the bright white candy melts. Then add the melted candy to a Ziploc bag. Squeeze it down into a corner then snip the corner off.
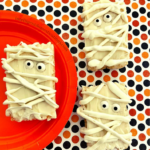
Line up your mummies for their wrapping. Create their mummy wrapping with the melted bright white candy by squeezing it through the opening in the bag. Go back and forth across each kripsie mummy and have fun with it. Take care not to cover their eyes. They do need to be able to see. Set them aside to dry. Then serve and enjoy!
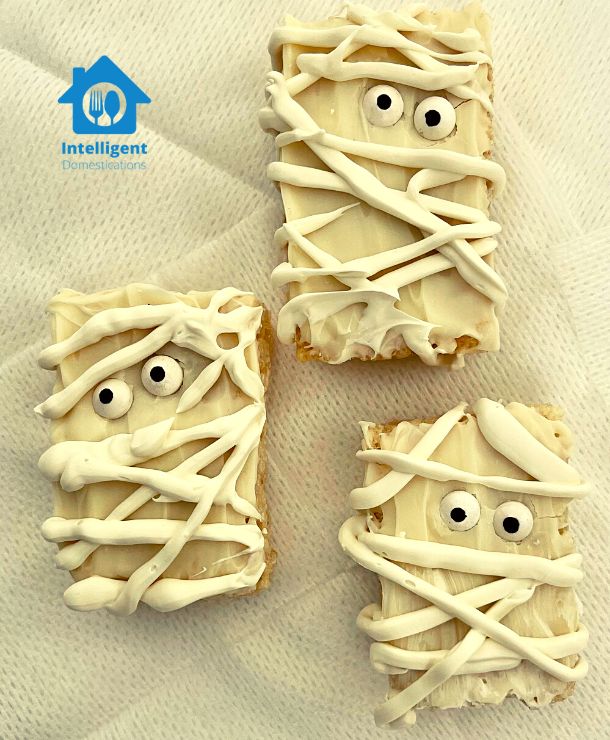
Rice Krispies Treats Mummies are quick to make and fun to eat. These no-bake Halloween treats are made with a shortcut so you don’t need the stove. They store well and can be made a day in advance.
Don’t you love how easy it is to make a batch of mummy rice krispies for the kiddos? These are great for family, classroom and Halloween parties.
I won’t tell if you don’t tell that you didn’t actually make the rice krispies treats yourself. Homemade is good but sometimes a shortcut in the kitchen is what we really need to make life easier.
Mummy Rice Krispies Treats Recipe
Equipment
- 2 Medium microwave-safe bowls for the candy melts
- 1 Spatula
- Disposable counter covers or parchment paper for your work surface
Ingredients
- 12 bars Rice Krispies Treats 12 count box
- 6 oz. White Candy Melts
- 6 oz. Bright White Candy Melts
- 1 oz. Candy Googly Eyes about 32 candy eyes
Instructions
- Prepare your workspace and gather all of the ingredients and tools. I recommend using these disposable counter covers.
- Unwrap your pre-packaged Rice Krispies Treats and line them up for the process of turning them into rice krispie treat mummies.
- Melt your white candy melts in the microwave. (Do not melt the bright white candy melts just yet)
- Begin with half power at 15 seconds. Stir and then keep doing that in 15-second intervals. Once there are only tiny tidbits of the candy remaining, stop microwaving and stir until it all melts with the residual heat.It is important that you melt chocolate or candy melts on half power in the microwave. The candy can seize and have to be thrown away if it overheats. It is best to go slow.
- Dip the top of the rice crispy into the melted candy to coat the top. You will need to use the spatula to smooth out the surface.
- Immediately add the eyes while the melted white candy is still wet. It will be the glue that holds the eyes into place.Have fun adding your candy eyes to the Mummy. They do not need to all be the same.
- Set your Krispy mummies aside in nice neat rows to be ready for their Mummy wrap, and let them dry. It only take a few minutes for them to dry.
- Once the mummies are dry, you can add their wrapping.Now melt the bright white candy melts. Then add the melted candy to a Ziploc bag. Squeeze it down into a corner then snip the corner off.
- Create their mummy wrapping with the melted bright white candy by squeezing it through the opening in the bag. Go back and forth across each kripsie mummy and have fun with it. Take care not to cover their eyes. They do need to be able to see. Set them aside to dry. Then serve and enjoy!
Notes
Nutrition

How to store candy-coated Rice Krispies treats
Store your rice crispy mummies in an airtight container at room temperature on the counter for about 3 days.
You can store them in the refrigerator for about 5 days in an airtight container.


More Halloween Food and Fun Ideas