
Rustic Fall Centerpiece DIY
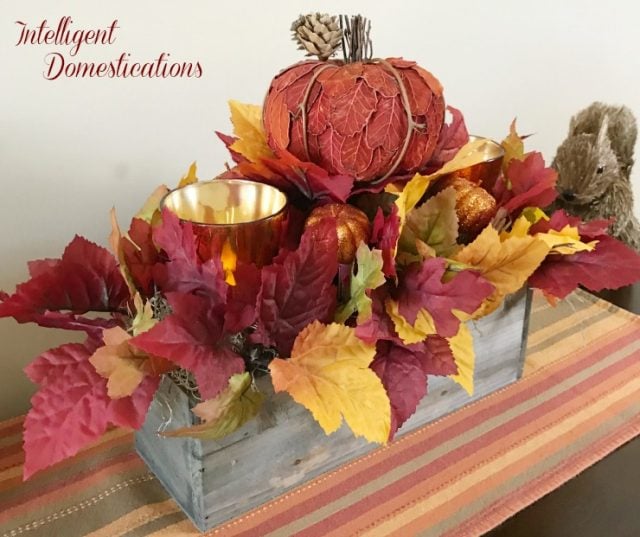
How to make your own Rustic Fall Centerpiece using mostly Dollar Tree supplies. This Fall table decor is crafted using colorful faux leaves to create those cozy fall feels in our home.
This is a Fall centerpiece I designed and crafted for my dining table originally. It has since been placed on various dining tables or side tables around the house each fall. I hope to inspire you to craft and create with us. I am always inspired to craft when the seasons change in the Fall.
Check out our Fall page and Pumpkin Crafts for more DIY home projects.
Let’s get crafting!
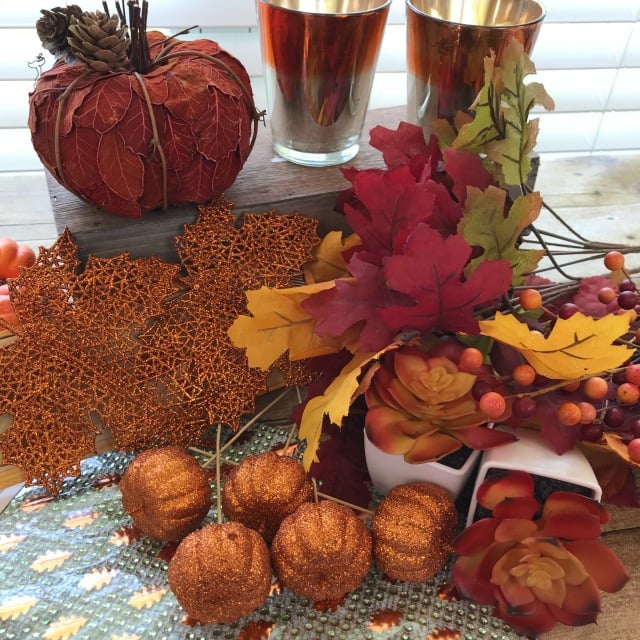
A printable list of supplies and instructions is below. The items pictured served as my inspiration and were not all used on this particular project.
You always want to gather your supplies first when crafting. It is best to be certain you have all of the needed items before beginning. This particular craft project came together quickly once I started. It was probably completed in under an hour.
Gathering the supplies
First, I shopped my home craft room for supplies left over from previous seasons. Then I made a trip to my Dollar Tree for a few more things I would need to make this Fall Centerpiece. It is entirely possible I brought back more than I went after.
The cute little leafy pumpkin, which becomes the center of attention, is leftover Fall decor from previous years. I found six of those on clearance when our Hancock’s Fabric store went out of business. They are so cheap! See how I used them in a Thanksgiving Tablescape.
First
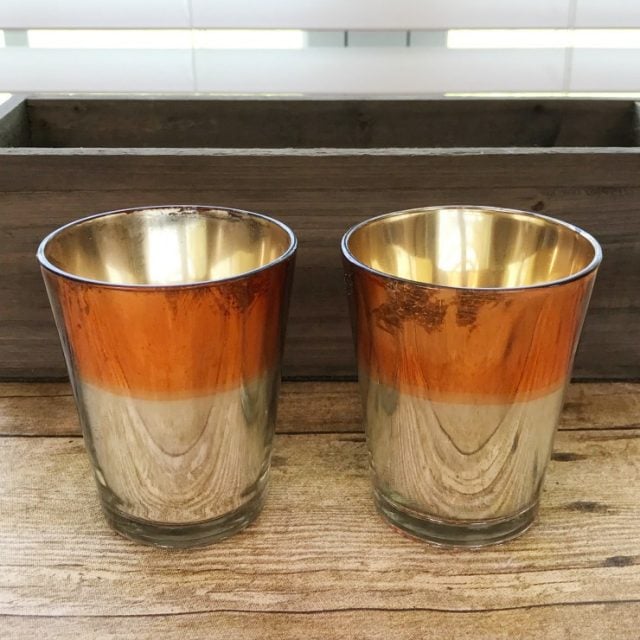
My first order of business was to glam up these gorgeous little votive candle holders. I could not believe my eyes when I spotted the pair on the vase shelf at Dollar Tree! There were only two, so I grabbed them quickly. Did you see my Insta Story about it?
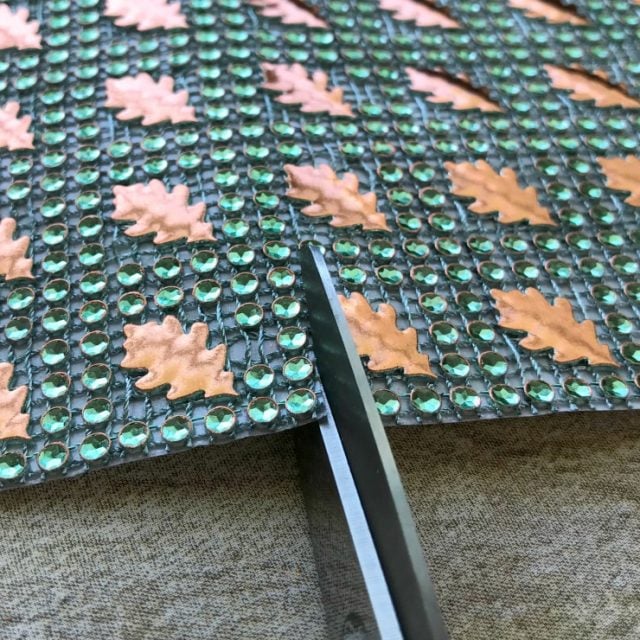
Have you seen these stickers in the fall decor at Dollar Tree yet? I knew I wanted to use them somehow because I love that blingy leaf, so they are going onto the bottom of the Votive holders! Because they are peel-and-stick, it was super easy to do.

Instant glam in just a few seconds to cut, peel, and stick. I love the falling leaves! The candles will add a nice warm charm to our Fall table decor.

Next, prepare the container
My rectangular wood box is leftover from a bouquet I received a while back. Three pieces of floral foam fit inside nicely. I did have to trim one piece just a tiny bit. I will insert all of the florals and pumpkin into these. The votives will rest on top.
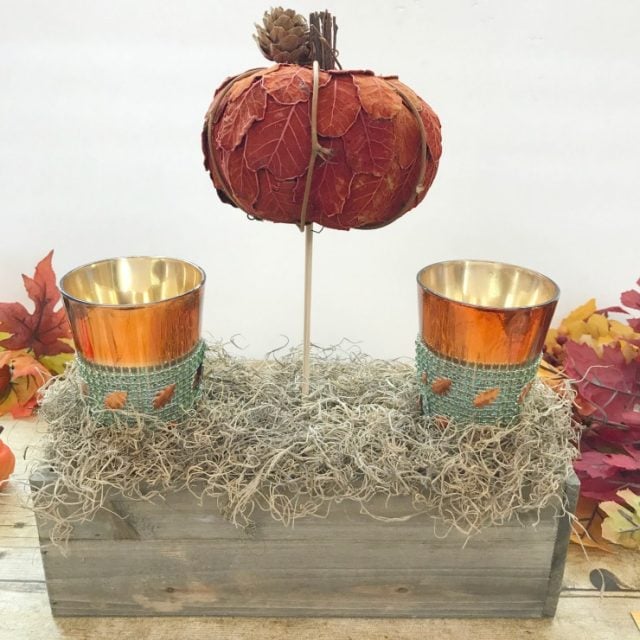
Add leaves, pumpkin, and votives
After adding the floral foam, the rest goes pretty quickly. I start the decorating in the center and work my way out to both sides from there. The pumpkin and votives are first.
First, dab a small amount of hot glue on to set the votive candle holders in place.
Then insert a wooden skewer into the pumpkin and place it in the center of the container.
Next, use hot glue to attach a good amount of moss to hide the floral foam.
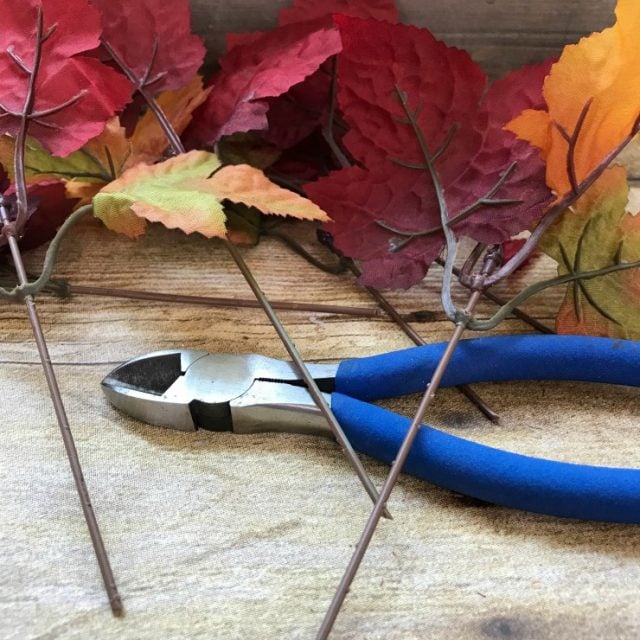
Cut the leaf stems apart using wire cutters. I like to sort them according to their patterns, which makes it quicker to select the ones I want during the decorating process.
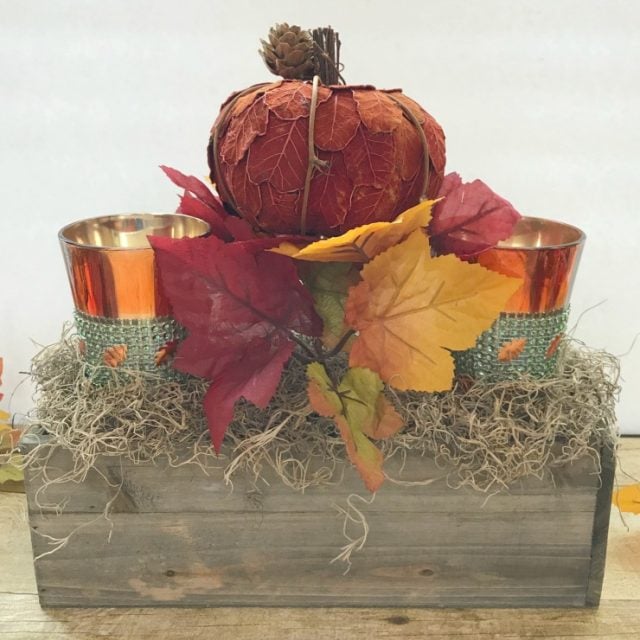
This Fall centerpiece is designed to be the same both front and back so it can be used as a dining table centerpiece. With that in mind, be sure to do the same thing on one side that you do on the other. It’s all about symmetry.

I began adding the leaves in the center of the project and, taking a look, I think it’s coming together nicely.

Continue adding leaves, taking care to do the same thing on one side that you do on the other. Use enough leaves for a nice full look all the way around.

Add Pumpkin picks
There are four of the pumpkin picks used, two on each side in the center. These came from Dollar Tree also. I added battery-powered votive candles for the final touch.
All finished and ready to adorn your table.

Rustic Fall Centerpiece DIY
How to make your own rectangular Rustic Fall Centerpiece for table decor. This Fall table decor is designed to be seen from all sides for a table centerpiece.
Materials
- 4 bunches of Fall leaves (Dollar Tree)
- 1 pack small Pumpkins on a stick (Dollar Tree)
- 1 Styrofoam Pumpkin for center
- 2 Glass Votive Candle holders (Dollar Tree)
- 1 pkg. peel and stick Fall leaves with faux jewels (Dollar Tree)
- 1 small pkg. Spanish moss (Dollar Tree)
- Rectangular container
- Floral foam, enough to fit in your container (Dollar Tree)
- 1 Wooden skewer
Tools
- Wire Cutters
- Hot Glue Gun
- Hot Glue
Instructions
- Cut the peel and stick jeweled leaves to fit the glass votive
- Apple the peel and stick jeweled leaves to the votive
- Now fit the floral foam into your rectangular container. I did not glue the foam into the container.
- Dab a small amount of hot glue onto the bottom of the Votive's and place them near the ends of the container as shown in the pictorial tutorial (see blog post)
- Insert the wooden skewer into the bottom of your pumpkin and then insert the pumpkin into the center of the container.
- Now add the moss using the hot glue. Dab some hot glue and carefully apply the moss. It's easy to get burned to be careful.
- Time to add the leaves. Use the wire cutters to cut apart all of the leave stems
- Begin in the center and be sure to add exactly the same 2 matching leaves on the opposite side. Simply insert each stem into the foam leaving the center leaves up a little close to the bottom of the pumpkin.
- Now begin filling in around the rest of the container with more leaves pushing them down close to the base so leaves are hanging over the edge.
- Last thing to do is add the pumpkins. I placed two in the front and two in the back toward the center.
- Pop a battery operated votive candle in your holders and enjoy your new Fall Centerpiece!

More Fall Home Decor Projects




What a lovely centerpiece… and your tutorial is wonderful, too! Thanks for sharing at Tuesday Turn About, Shirley! Pinned!
Gorgeous centerpiece, Shirley! I love the different heights of the pieces and that you could re-use a flower box for this. The colors are perfect for a rustic fall look.
This turned out so pretty. I would never guess these are dollar store items. I love the video too. It’s very clever to use the picks and arrange them.
Your centerpiece turned out great, I really love that pumpkin on the top. I bet it looks beautiful on your table this Fall.
Your centerpiece is so creative and adorable using items from the dollar store, Shirley! I can almost feel your excitement in describing your awesome dollar store finds!
This is beautiful! I would proudly display this for fall! I love those leaf sticker with all the bling. I need to look for those the next time I go. Great project Shirley!